Showing posts with label throwback thursday. Show all posts

Thursday, October 9, 2014

Throwback Thursday: November 19, 2011 (Freebie & Tutorial Included)

SOLD on November 19, 2011! I called it "Lavender Rain Drop."
This piece is perfectly whimsical & delightfully cute.
And I'm here to show you how to make this mixed media art.

Lavender Rain Drop, Mixed Media Art by Corrinne Quinn


{ Materials }

Mini 3" Canvas
Eco-fi felt
Paint, two colors
Jump rings
Beads

{ Tools }

Paintbrush
Glue or glue dots
Nose Pliers (or similar)


How To: Lavender Rain Drop Mixed Media Canvas Art


Lavender Rain Drops, Mixed Media Art by Corrinne Quinn


This mixed media can be done anyway you want. 

- Use patterned paper instead of paint for the background.

- Use burlap or other fabric for the cloud. Scraps are perfect for this!

- Create seed bead strangs, hang buttons or found items.

The end result is only limited by your imagination!


If you make your own, please share it. I've love seeing your own project.
And I also give you a freebie, too: Lavender Rain Drop Gift Tags.
Print a single tag or a set. Simply click the photo below.

Free Printable Gift Tags - Personal Use Only. Do Not Share, Edit or Alter.
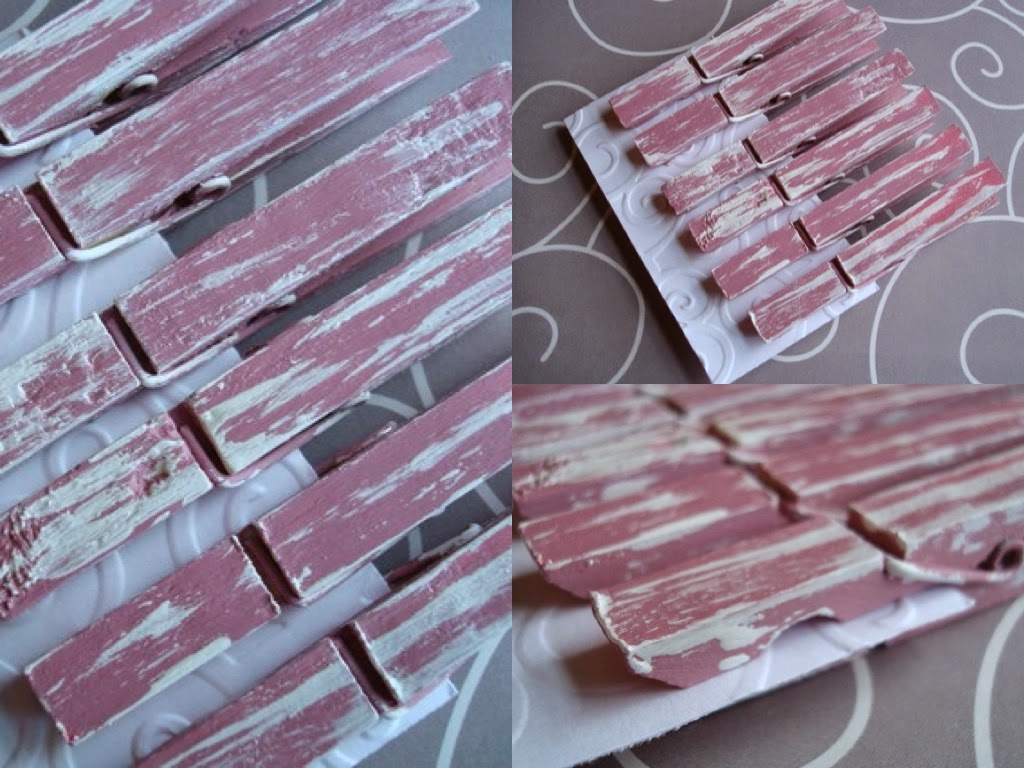
These tags would look lovely clipped to a gifting using these Pin & Tack clothespins.
Enjoy and share photos of your projects or uses please!

With blessings & joy, yours truly . . . Corrinne Quinn

Thursday, September 25, 2014

Throwback Thursday: October 7, 2010

I originally created this card because I am a fan of Tinkerbell.
Another was a fan, too, so her mother asked me to create cards to be used as invitations.

"This is a wonderful card for a fan of the very cute Tinkerbell."
Her cards were different. They were created using lots of pink with touches of green.
Unfortunately, I couldn't find the photo of them to show you!

"Purple and brown combine with silver shine for a lovely way to express your wishes."

The layout remained the same, though, and I give you the card map, so you can make your own.
If you do, share it with me. It would be wonderful to see your interpretation!


With blessings & joy, yours truly . . . Corrinne Quinn

Thursday, September 11, 2014

Throwback Thursday: April 19, 2011

On April 19, 2011, I created my very first set of distressed clothespins.
(And it was only one day later that they sold, too.) I had no idea the journey they would take me on!
Distressed Rose & White Clothespins, Set Of 6
"Pink is always in - add a little shabbiness & you have a stylish way to display photos, hang banners, or keep yourself organized."

The distressing is a bit rough - My skills have much improved since then - but they were still lovely.
The clothespins originally arrived on a piece of embossed cardstock in an organza bag.

That has changed. Clothespins are now tucked into a cotton muslin bag, a perfect way to store them.
And there are many, many more colors to choose from along with different sizes.

Is there a creation that you have improved on over time?
Share it in the comments. I'd enjoying hearing about it!

With blessings & joy, yours truly . . . Corrinne Quinn

Thursday, August 14, 2014

Throwback Thursday: May 2, 2011

SOLD! To the woman who enjoys friends & drinks with friends on May 2, 2011.
"I really like this," she wrote. Well, that is exactly what I wanted to see.


Sadly, there isn't another, but you can MAKE YOUR OWN!

{ Scrapbook Canvas Art }

You can create this in any theme, style or color that you prefer.
That's what makes it so fun & easy - Your imagination is the limit!

Supplies needed:

Canvas (4"x4" shown.)
Tape or glue
Scrapbook papers
Ribbon
Buttons, die cuts
Stamp, ink


1. Wrap scrapbook paper around the canvas like you would a present, so that the folds are on the sides and back.

2. Wrap & glue ribbon around the sides to cover up any folds from the paper.

3. Stamp image onto a piece of scrapbook paper, then cut it to be smaller than the size of the canvas.

4. Add embellishments to the corners.


Tip: If using a small canvas, pick up a mini easel, so you can display it.

These can be relatively inexpensive, so they would make great gifts, such as bridesmaids, birthdays, or Christmas.

They will be a special way to share your creativity with others.

If you need ideas, checkout scrapbook layouts or page maps.


Have you made or received a piece of canvas art? Old or new, share it in the comments!
And if you decide to make one now, share that, too. I always enjoy viewing others' projects.

With blessings & joy, yours truly . . . Corrinne Quinn

Thursday, July 31, 2014

Throwback Thursday: January 25, 2010

How owl you? Well, I'm doing just fine. Let's take a little trip down memory lane.

It was January and I'd been working on my crafting skills for a bit. Goodness, it's hard to know when, why, and how it all began - Except that it started with scrapbooking. I will have to share my earlier works one of these days! It can be quite a hoot - wink, wink - to see versions of one's earlier works.

Anyhow, I created a set of tags, listed them and they sold within a month. Woop, woop! Are you out there, oh, person who bought my very first set of tags? Or the person who received one from them? That would be awesome :)


{ How To: Easy, Peasy Tags }

- - Supplies Needed - -

Cardstock
Glue
Hole Punch
Embroidery Thread
Stamps
Ink Pad
Sandpaper

1. For each tag, cut two circles from cardstock. (I used a circle punch for speed and consistency.)

2. Stamp images on each circle. I got this look by using a single acrylic block with two different clear stamps on it. Allow ink to dry completely.

3. Glue two circles (unstamped sides) together. This makes them much sturdier. Sand the edges for added interest.

4. Punch a hole in one side, then loop string through it.


As you can see, I used an extra tag to make a special card that I included in the order. Check out the layout below, so you can create your own using one of your handmade tag.

Card Layout #001
If you take me up on my offer, share your creations - I'd love to see it!

With blessings & joy, yours truly . . . Corrinne Quinn

Thursday, July 24, 2014

Throwback Thursday: April 16, 2011

Pin & Tack wasn't always Pin & Tack. Formerly known as Crafty Moon Crab, the shop sold handmade soaps. It wasn't until some time later that clothespins became a featured product, then the main item to be had.


It all started on April 16, 2011. Pin & Tack's very first set of clothespins was listed. This set was made with specialty paper, a black & white damask, that was cut to size, glued and sealed by hand.


And one day later, they SOLD! That began the crafty journey of the pins :)


In the beginning, there was only a couple of options. Now, Pin & Tack offers 100s of colors with different sizes and styles. Custom requests are welcomed any day of the week.

Do you have a favorite set? Or one you'd like to see? Share your likes or wishes in the comments.

With blessings & joy, yours truly . . . Corrinne Quinn

Thursday, March 27, 2014

Throwback Thursday: Tacks

On November 10, 2010, I sold my very first set of Diamond Thumb Tacks.
I can't believe it was so long ago. I still get excited when someone purchases them!


See the differences? Ha ha ha. I'm definitely taking better pictures. Lighting is key :)
For fun and because I LOVE to see changes, share a craft from back then and one from now.

Blessings & joy, yours truly . . . Corrinne Quinn